Create, View, Update, and Delete Documents
You can use the Atlas UI to manage documents inside your collections. Documents are individual records in a MongoDB collection and are the basic unit of data in MongoDB.
Viewing documents and collections in the Atlas UI can provide a high-level overview of your database schema. You can use the Atlas UI to ensure you are following MongoDB's core data modeling concepts, such as utilizing embedded documents and arrays.
Required Roles
To insert, edit, or delete documents, you must have been granted access through one of the following roles:
Insert Documents
To add one or more documents to a collection through the Atlas UI, you can specify the documents to insert from scratch or you can clone an existing document and modify its fields and values as needed.
To insert documents into your collection, use one of the following methods in Atlas:
JSON Mode :icon-lg:`CurlyBraces`: Allows you to write or paste JSON documents in the editor. Use this mode to insert multiple documents at once as an array.
Field-by-Field Editor :icon-lg:`Menu`: Allows you to select individual field values and types for each inserted document. You can only insert one document at a time using this method.
In Atlas, go to the Clusters page for your project.
Warning
Navigation Improvements In Progress
We're currently rolling out a new and improved navigation experience. If the following steps don't match your view in the Atlas UI, see the preview documentation.
If it's not already displayed, select the organization that contains your desired project from the Organizations menu in the navigation bar.
If it's not already displayed, select your desired project from the Projects menu in the navigation bar.
If it's not already displayed, click Clusters in the sidebar.
The Clusters page displays.
Go to the Collections page.
Click the Browse Collections button for your cluster.
The Data Explorer displays.
Open the Add Data drop-down menu.
In the drop-down menu, select Insert Document.
The document editor appears with the _id field, which contains
an ObjectId value that reflects the time when the document
was created, not when it was inserted. As such, the ObjectId
does not represent a strict insertion order.
Modify the document.
Type or paste the documents you want to insert into your collection. To insert multiple documents, enter a comma-separated array of JSON documents.
For example, the following array inserts 5 documents into the collection:
[ { "_id" : 8752, "title" : "Divine Comedy", "author" : "Dante", "copies" : 1 }, { "_id" : 7000, "title" : "The Odyssey", "author" : "Homer", "copies" : 10 }, { "_id" : 7020, "title" : "Iliad", "author" : "Homer", "copies" : 10 }, { "_id" : 8645, "title" : "Eclogues", "author" : "Dante", "copies" : 2 }, { "_id" : 8751, "title" : "The Banquet", "author" : "Dante", "copies" : 2 } ]
In Atlas, go to the Clusters page for your project.
Warning
Navigation Improvements In Progress
We're currently rolling out a new and improved navigation experience. If the following steps don't match your view in the Atlas UI, see the preview documentation.
If it's not already displayed, select the organization that contains your desired project from the Organizations menu in the navigation bar.
If it's not already displayed, select your desired project from the Projects menu in the navigation bar.
If it's not already displayed, click Clusters in the sidebar.
The Clusters page displays.
Go to the Collections page.
Click the Browse Collections button for your cluster.
The Data Explorer displays.
Open the Add Data drop-down menu.
In the drop-down menu, select Insert Document.
The document editor appears with the _id field, which contains
an ObjectId value that reflects the time when the document
was created, not when it was inserted. As such, the ObjectId
does not represent a strict insertion order.
Clone Documents
You can insert new documents by cloning the schema and values of an existing document in a collection.
To clone a document, hover over the desired document and click the Clone button.

To clone a document, hover over the desired document and click the Clone button.

To clone a document, hover over the desired document and click the Clone button.

When you click the Clone button, Atlas opens the document insertion dialog with the same schema and values as the cloned document. You can edit any of these fields and values before you insert the new document.
View Documents
To view and manage documents, you can use one of the following views in the Documents tab:
List View :icon-lg:`Menu`: The default document view. Atlas shows documents in a list. In this view, you can expand embedded objects and arrays.
JSON View :icon-lg:`CurlyBraces`: Atlas shows documents as properly-formatted JSON objects. Atlas uses extended JSON to display the data types of each field.
Table View :icon-lg:`Table`: Atlas shows documents as rows of a table, with document fields shown in the table columns. With this view, you can see which documents contain specific field values.
Expand Embedded Objects and Arrays
To expand embedded objects and array elements, hover over the document and click the arrow in the top-left corner.
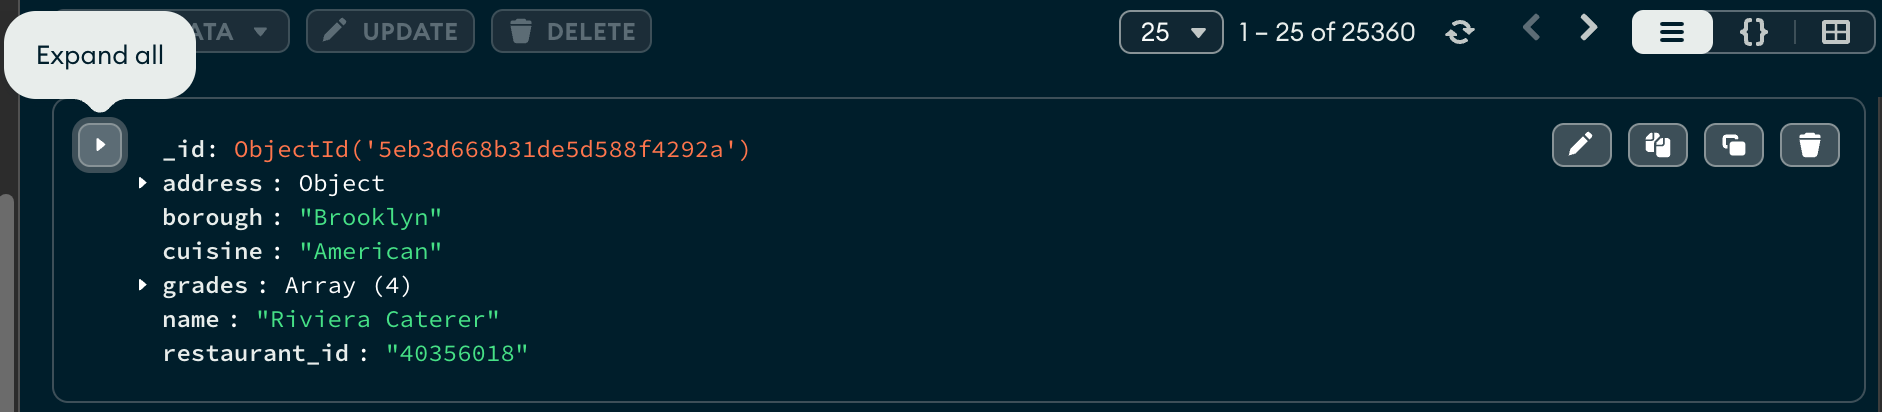
To expand embedded objects and array elements, hover over the document and click the top arrow on the left side of the document.
To expand individual objects and arrays, click the arrow to the left of the desired field.

To view nested object fields and array elements, hover your cursor
over a field with a value type of Object or Array and
click the button with outward-pointing arrows which appears on the
right side of the field.
Atlas opens a new tab in the Table View corresponding to the nested element.
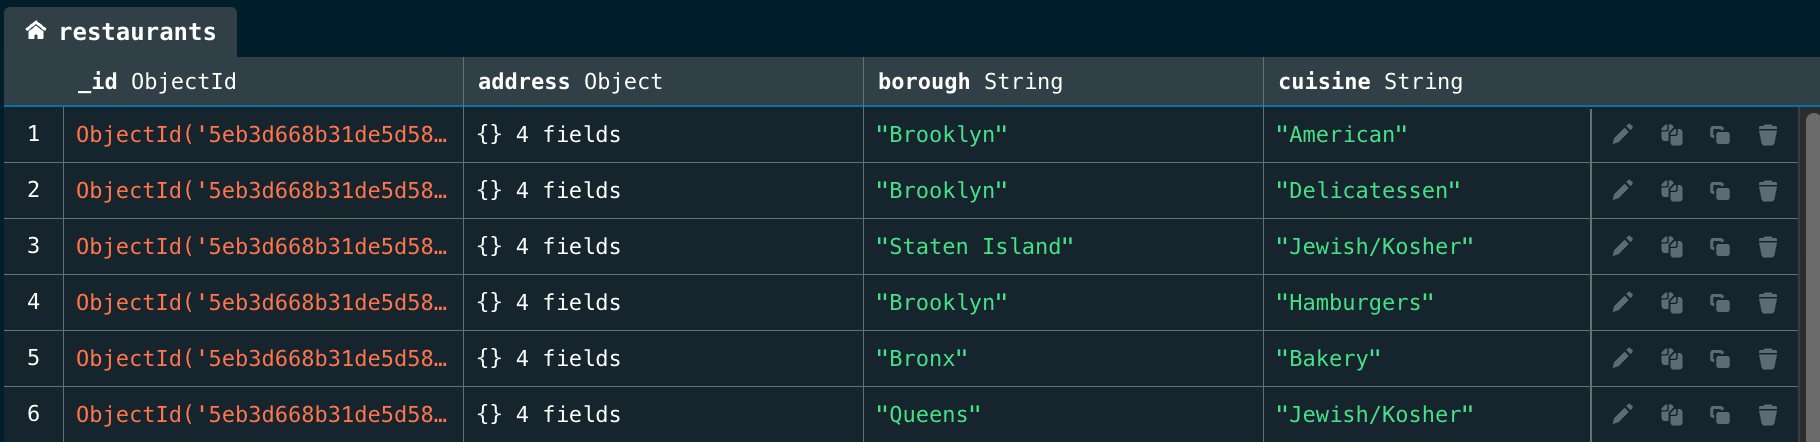
The following example displays the address
object nested within the restaurants collection documents. The
new tab displays the five properties of the address object:
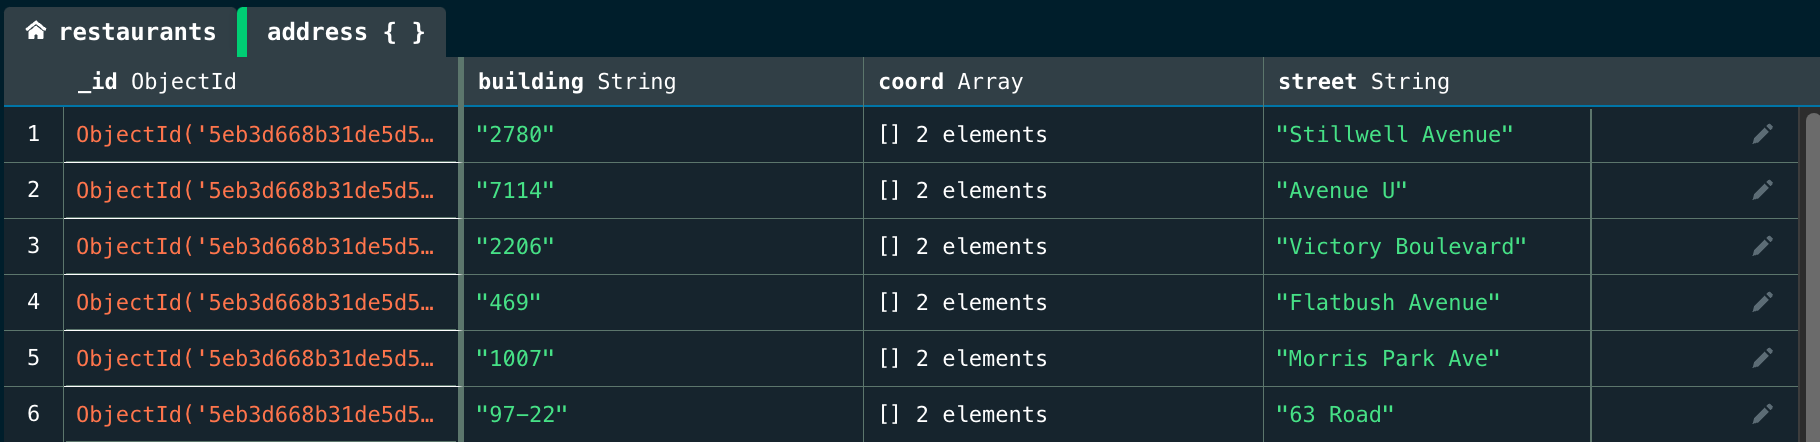
To return to the original table display, click the first tab in the Table View which displays the name of your collection.
Copy Documents to Clipboard
To copy a document to your clipboard, hover over the document and click the Copy icon:

To copy a document to your clipboard, hover over the document and click the Copy icon:

To copy a document to your clipboard, hover over the document and click the Copy icon:

Number of Documents Displayed per Page
The Atlas UI limits the total byte size of documents shown per page. As a result, you may see varying numbers of documents per page, especially if your documents vary significantly in size.
Edit One Document
When you edit a document in List or Table view, Atlas performs a findOneAndUpdate operation and updates only those fields that you have changed.
When you edit a document in JSON view, Atlas performs a findOneAndReplace operation and replaces the document.
To modify a document, hover over the document and click the pencil icon:
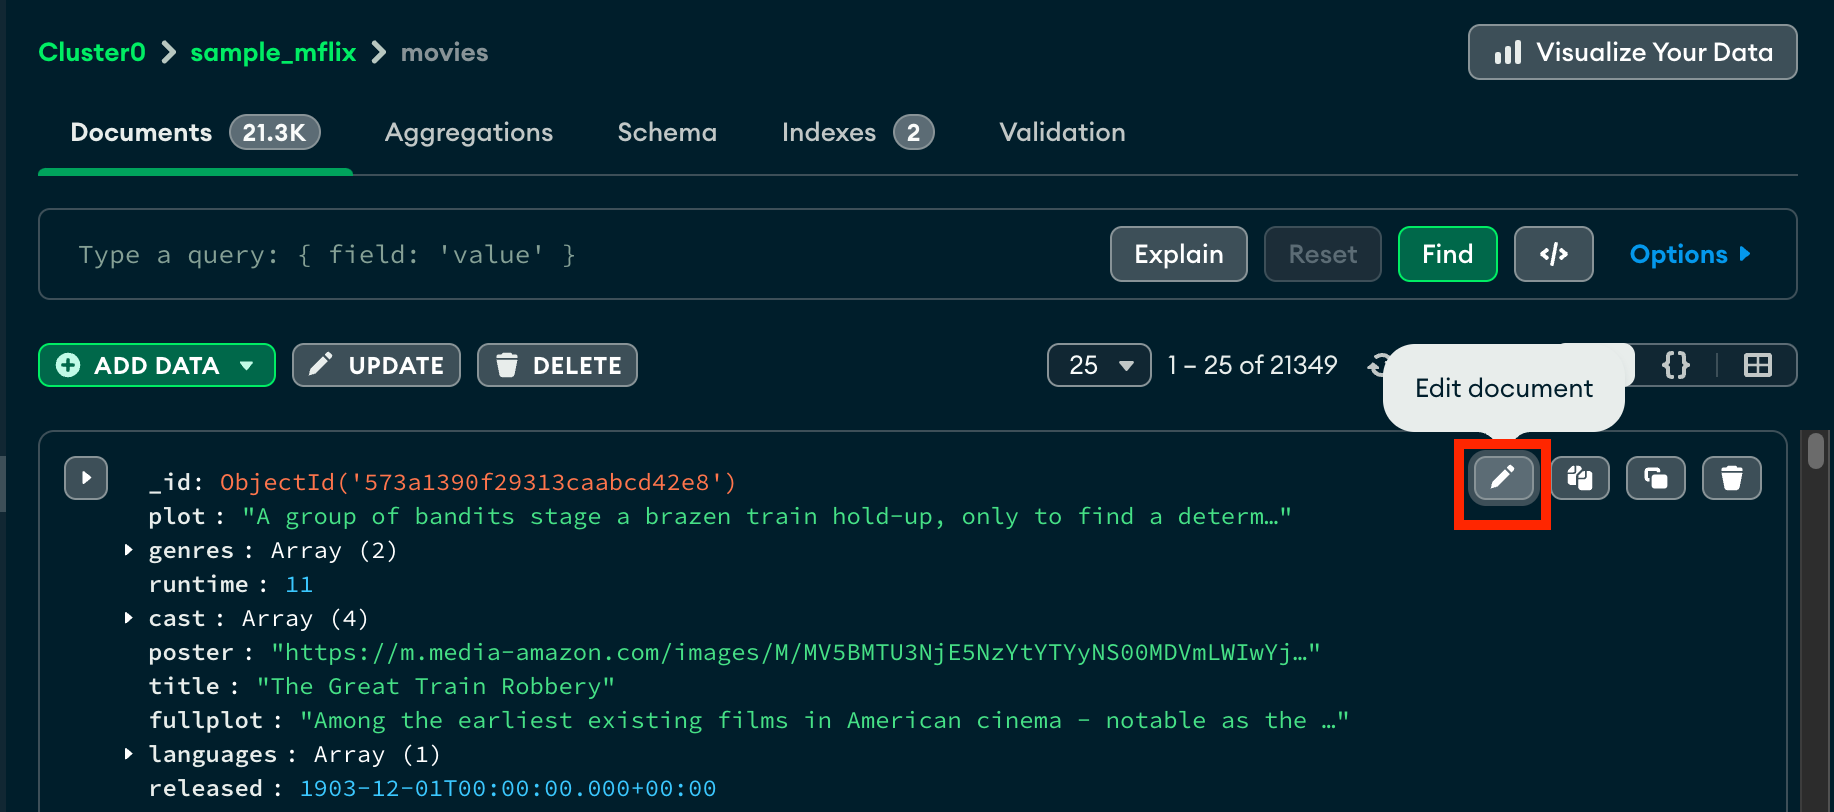
After you click the pencil icon, the document enters edit mode. You can now make changes to the fields, values, or data types of values.
Delete Fields
To delete a field from a document, click the icon to the left of the field:

Once selected, the field is marked for removal and appears highlighted in red. Atlas asks for confirmation that you want to update the document by removing the field.
Add New Fields
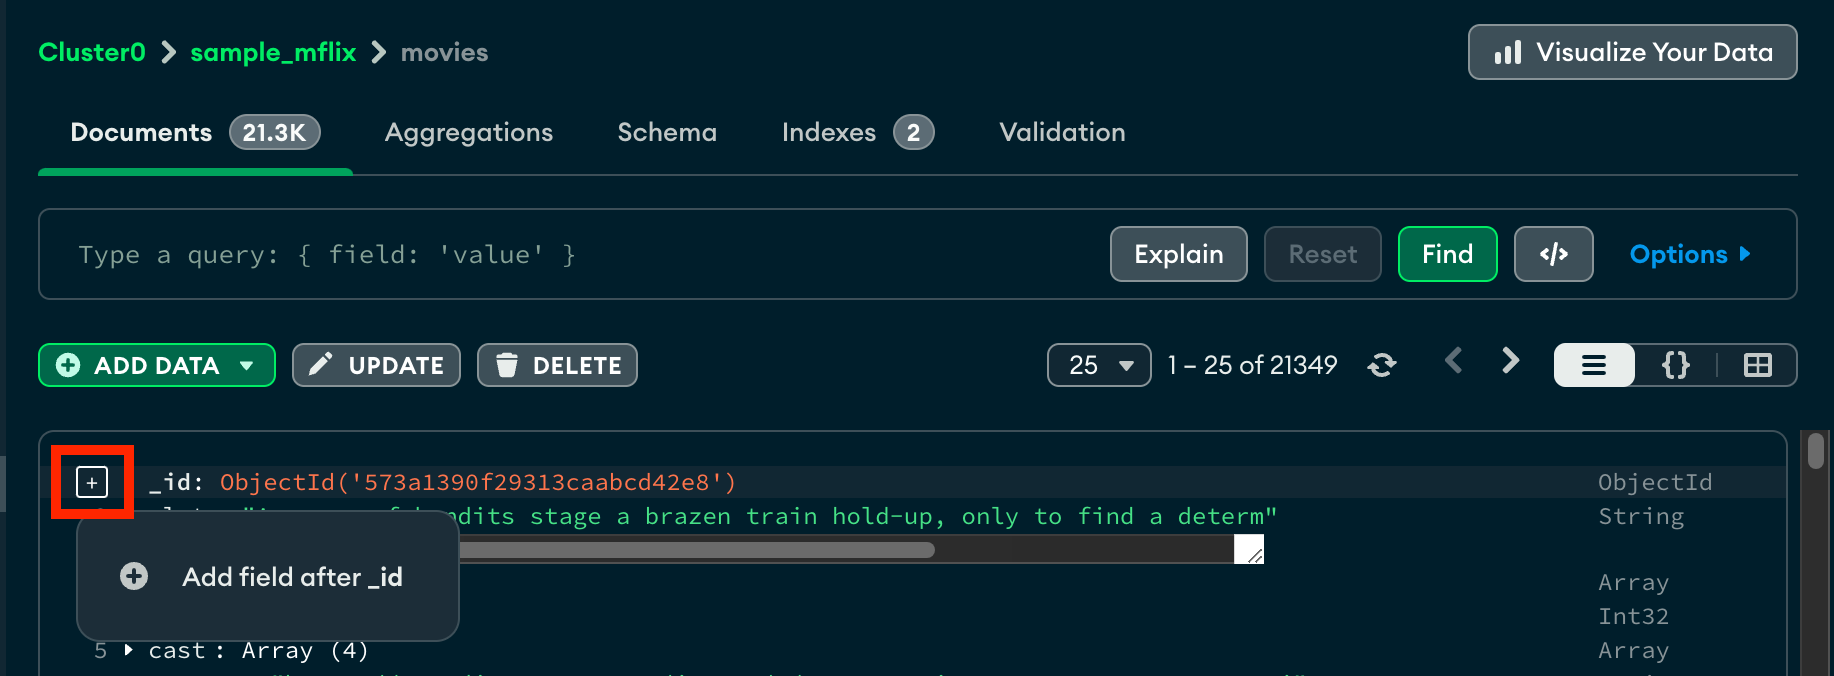
To add a new field in the document after an existing field, hover over the row number in the dialog and click on the plus sign. The row number is not part of the document but is part of the dialog display.
You can also add a new field at the end of the document by pressing the tab key when your text cursor is in the value of the last document field.
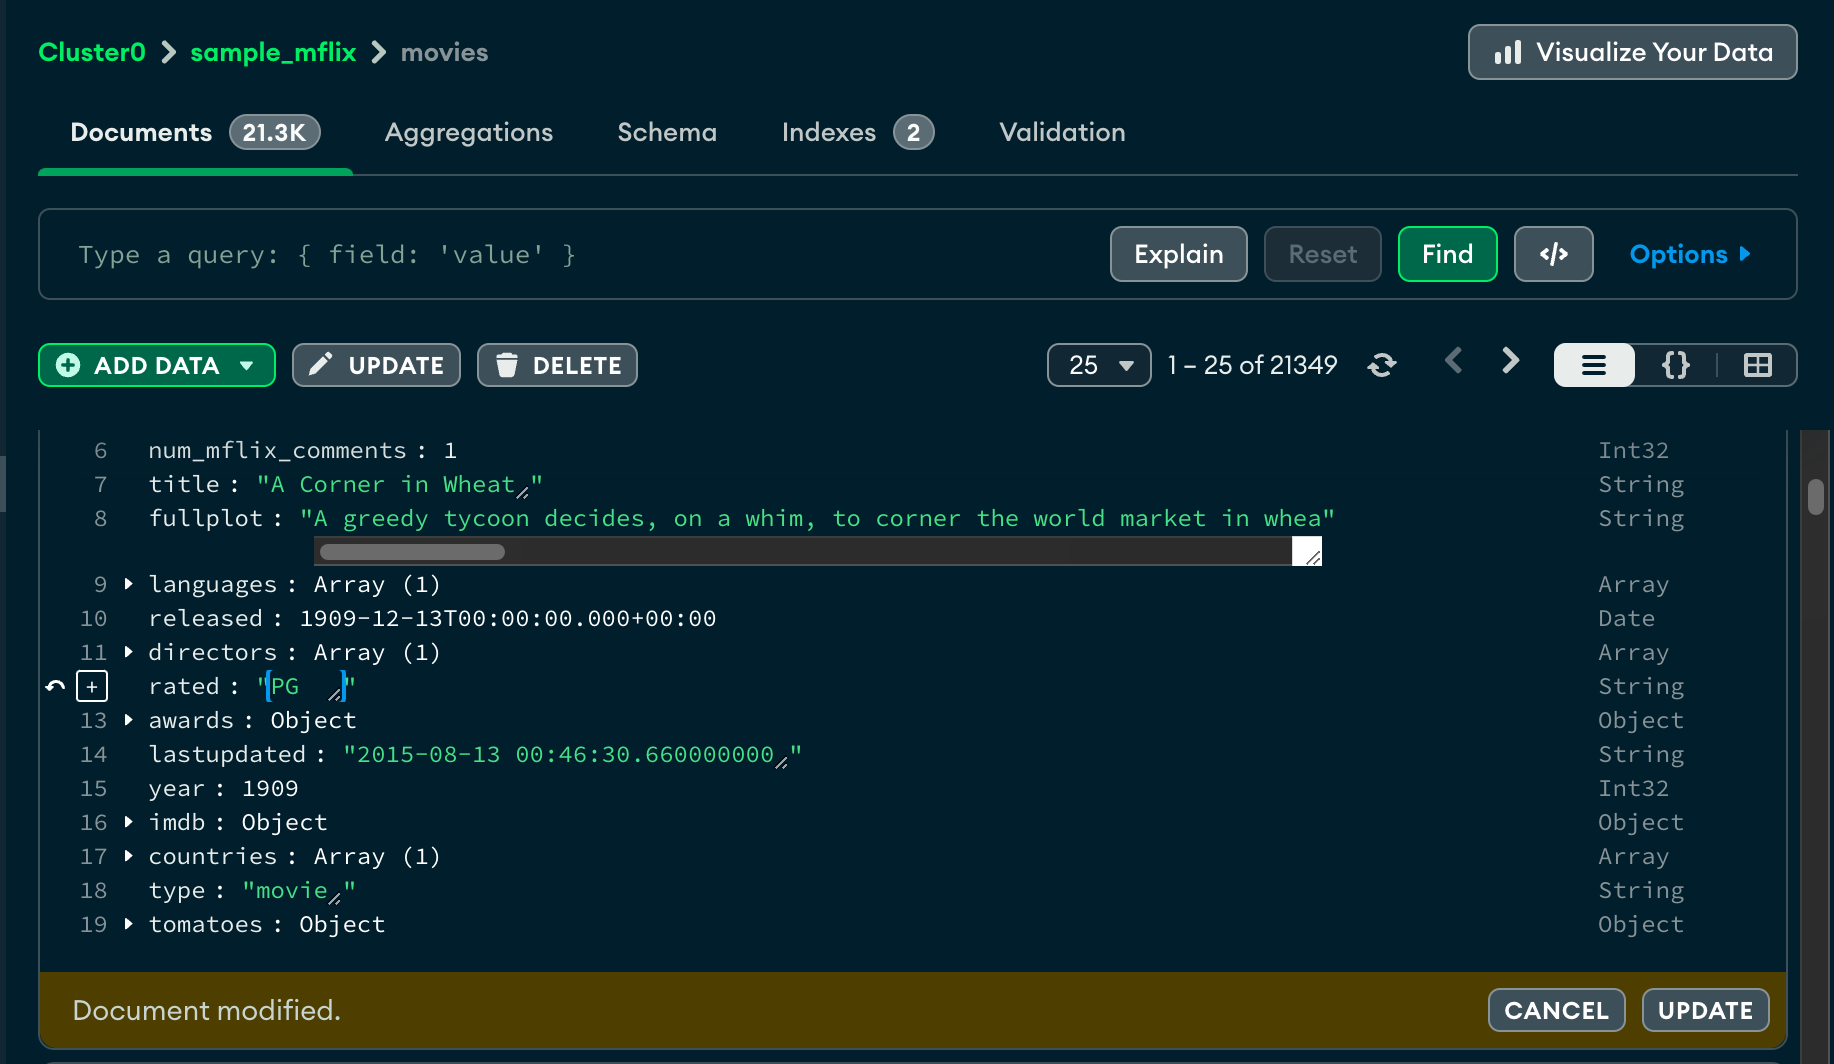
Modify an Existing Field
To modify documents, click on existing field names or
values and make changes. In this example, the borough was
changed from Manhattan to Queens. Changed fields appear highlighted in
yellow:
When you edit a document in List or Table view, Atlas performs a findOneAndUpdate operation and updates only those fields that you have changed.
If Atlas detects that you have changed fields that were modified outside of Atlas, it notifies you, preventing you from accidentally overwriting the changes made outside of Atlas. You can choose to proceed and replace the document by clicking Update, or cancel your changes.
Save Changes
When you are finished editing the document, click the Update
button to commit your changes.
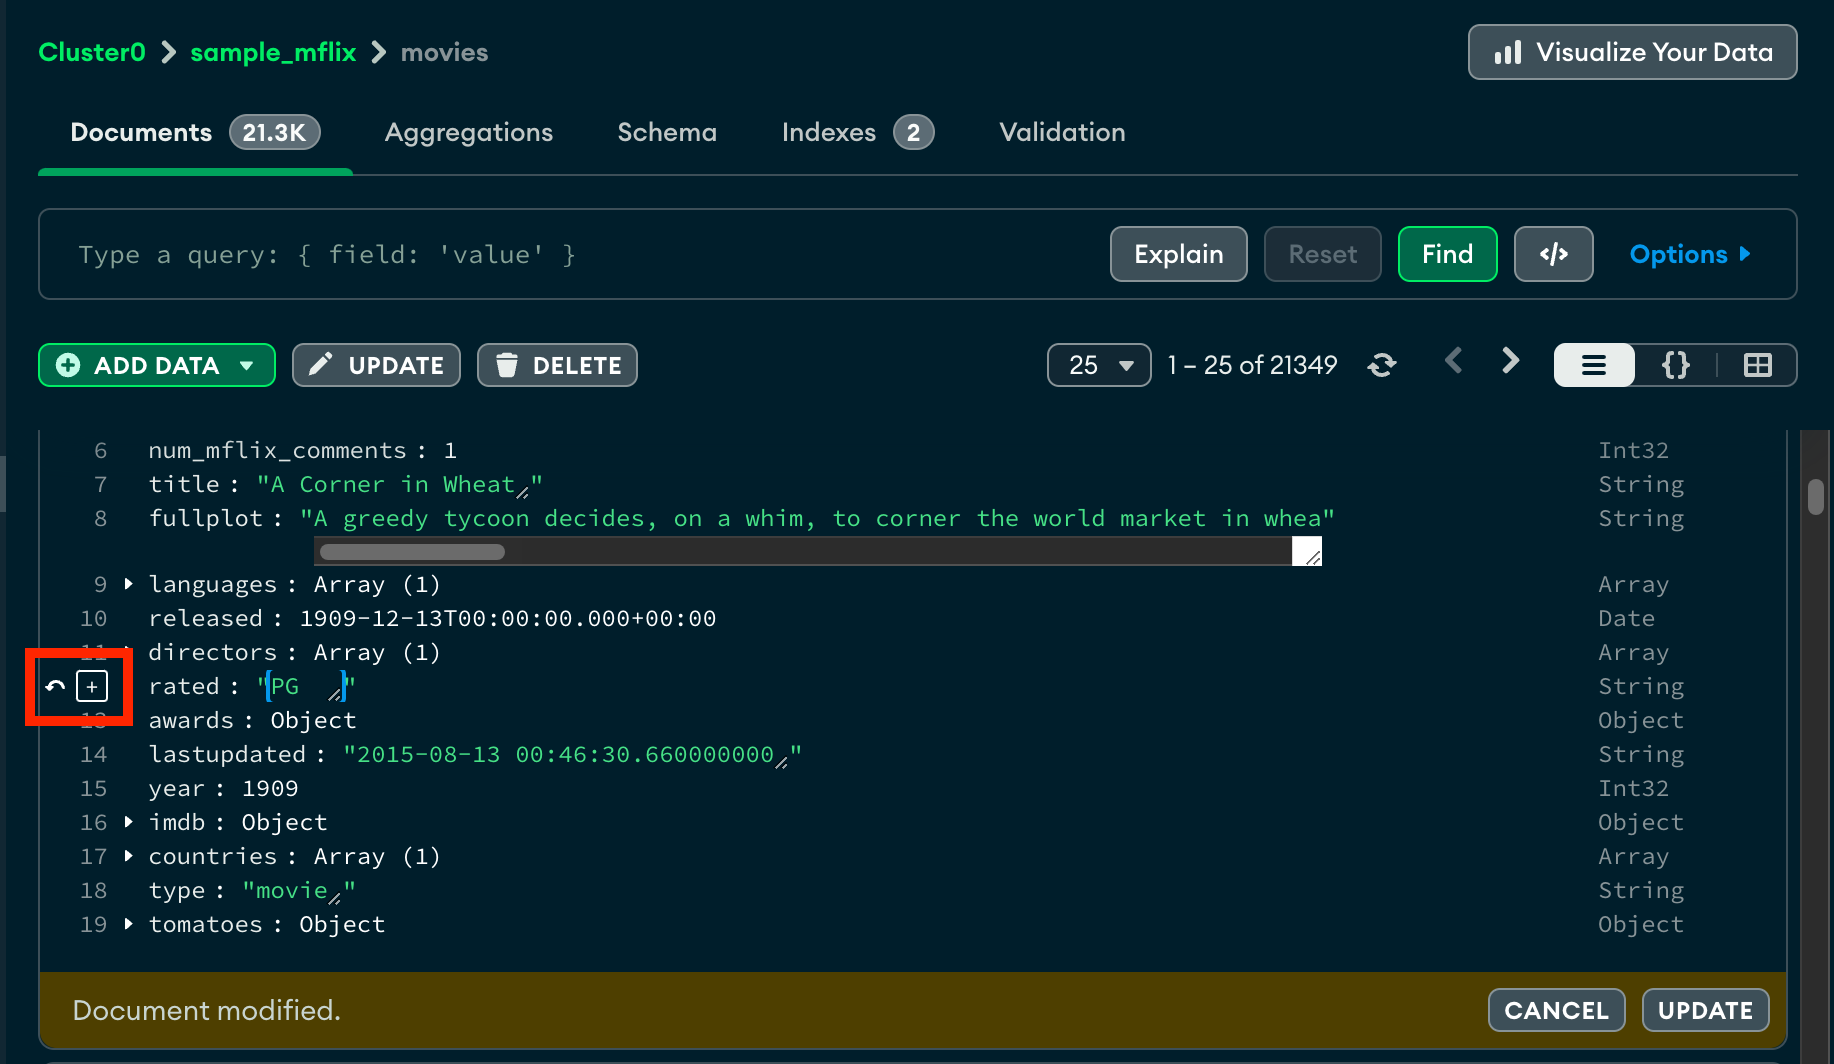
Revert a Change
To revert changes to a document, hover over the edited field and click the revert icon which appears to the left of the field's line number.
To modify a document, hover over the document and click the pencil icon:
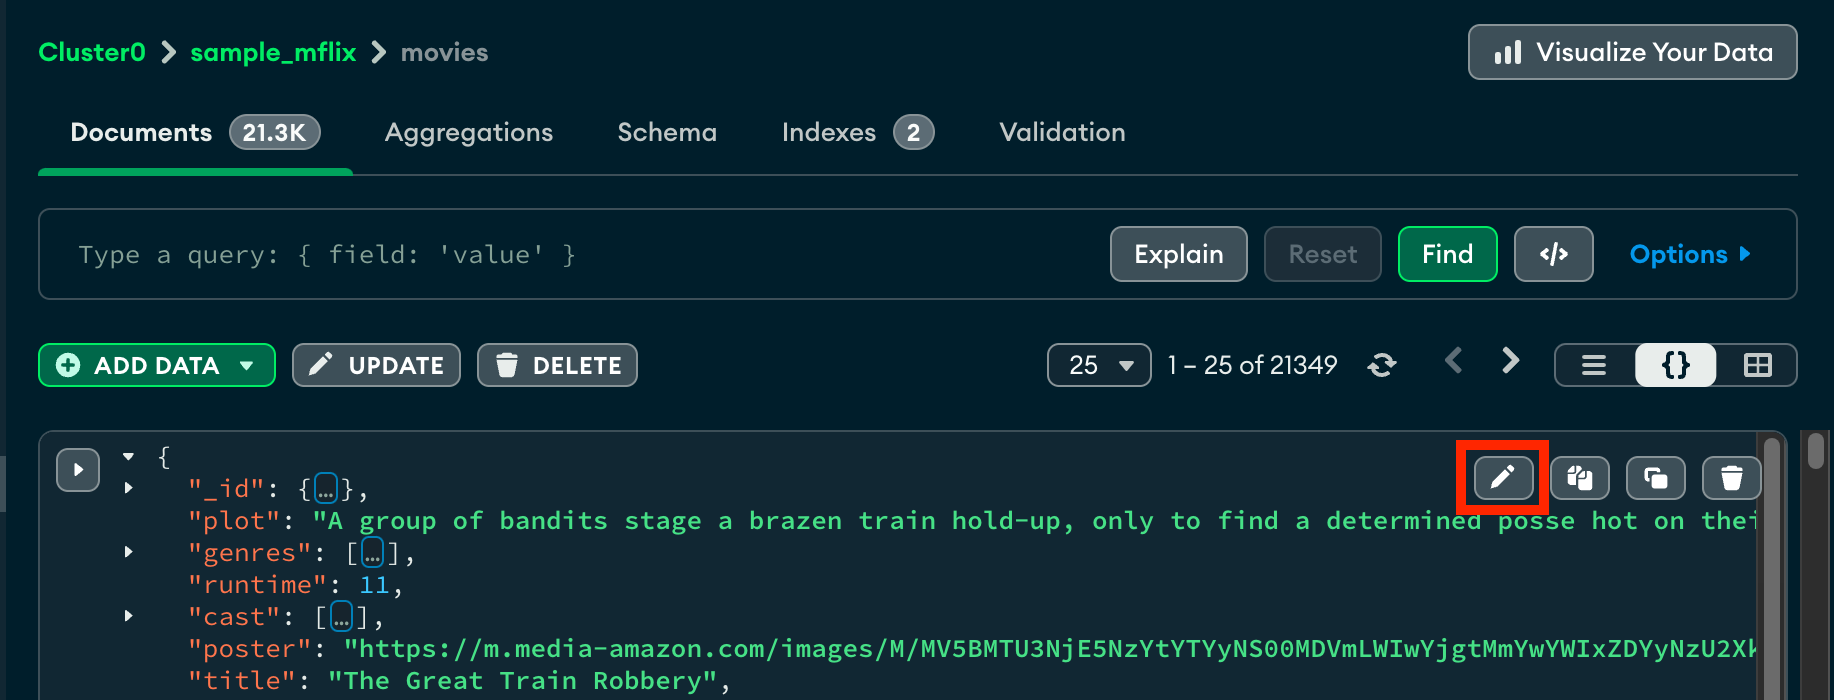
After you click the pencil icon, the document enters edit mode. You can now add, remove, and edit field values by modifying the JSON document.
By default, this view hides embedded objects and arrays. To expand embedded objects and array elements, hover over the target document and click the top arrow on the left side of the document.
To expand individual objects and arrays, click the arrow to the left of the desired field.
When you edit a document in JSON view, Atlas performs a findOneAndReplace operation and replaces the document.
If Atlas detects that you have changed fields that were modified outside of Atlas, it notifies you, preventing you from accidentally overwriting the changes made outside of Atlas. You can choose to proceed and replace the document by clicking Update, or cancel your changes.
To modify a document, hover over the document and click the pencil icon:

After you click the pencil icon, the document enters edit mode.
When you edit a document in List or Table view, Atlas performs a findOneAndUpdate operation and updates only those fields that you have changed.
If Atlas detects that you have changed fields that were modified outside of Atlas, it notifies you, preventing you from accidentally overwriting the changes made outside of Atlas. You can choose to proceed and replace the document by clicking Update, or cancel your changes.
Delete Fields
To delete a field from a document:
Click the value of the field you want to delete.
Click the icon.
Click Update to confirm your changes.
Add New Fields
To add a new field to the document:
Click the field after which you wish to add the new field.
Click the icon.
Click Add Field after <Field Name>.
Populate your newly created field.
Click Update to confirm your changes.
Revert a Change
While modifying a document, you have the option to revert changes made to a field prior to saving the modified document.
Click the revert icon which appears on the right side of the edited table element.

Edit Multiple Documents
You can use the bulk update operations workflow to update multiple documents in Atlas. For details, see Modify Multiple Documents.
Delete One Document
To delete a document from a collection through the Atlas UI:
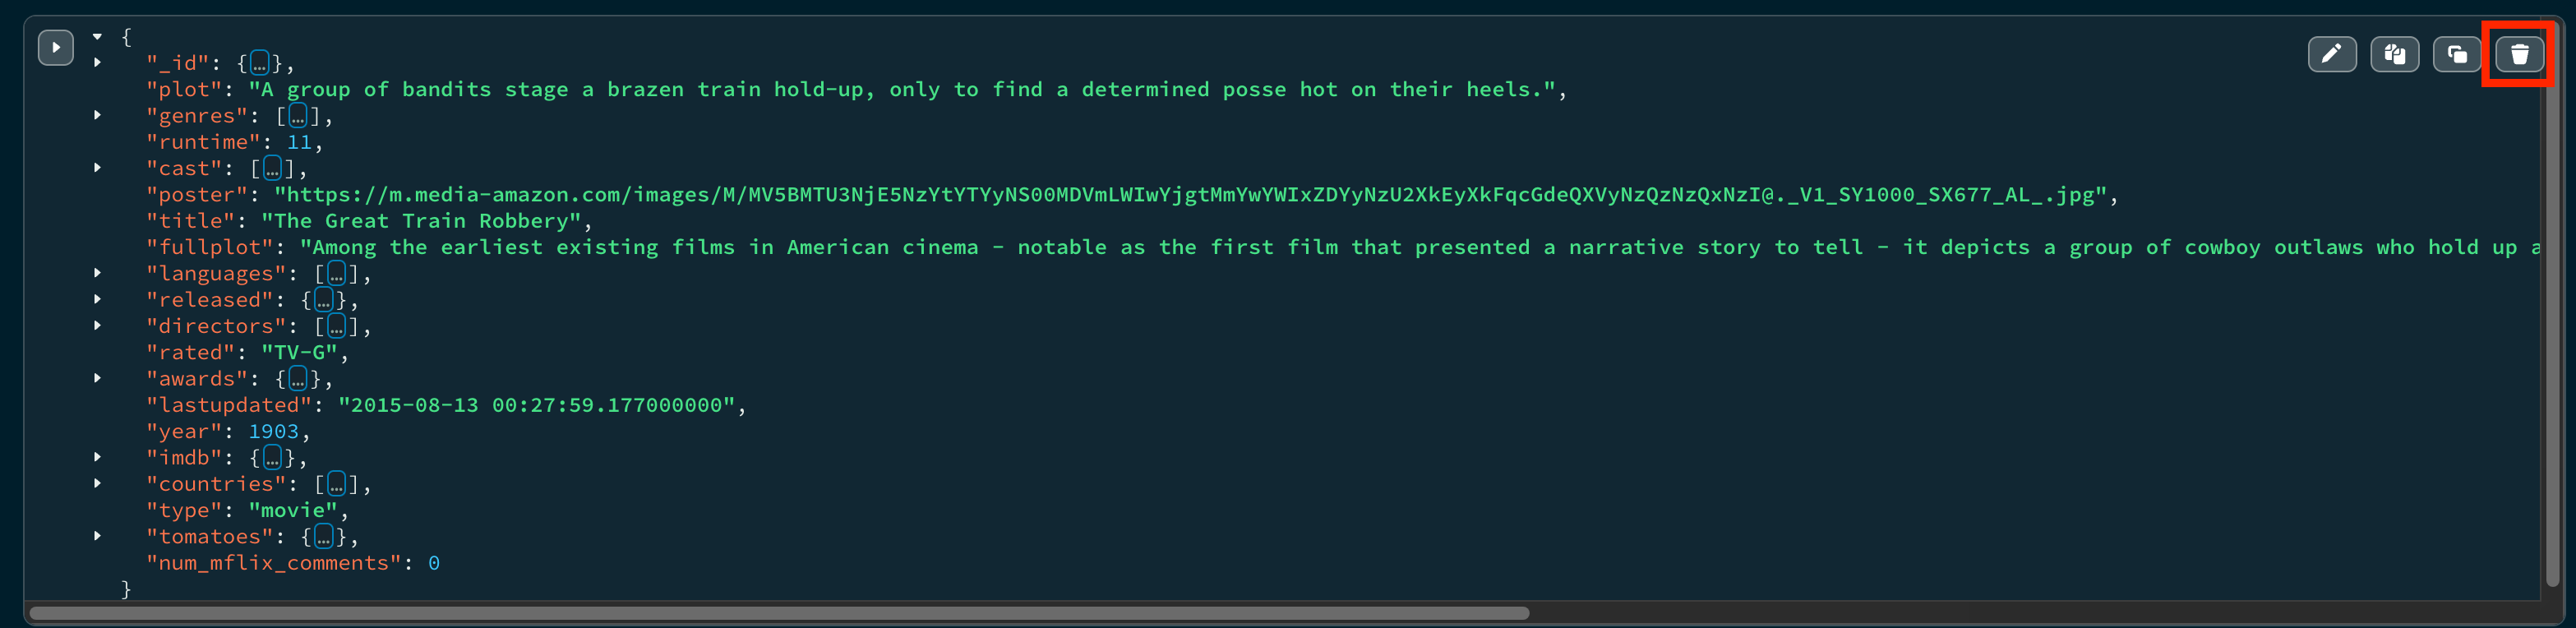
To delete a document, hover over the document and click the icon.
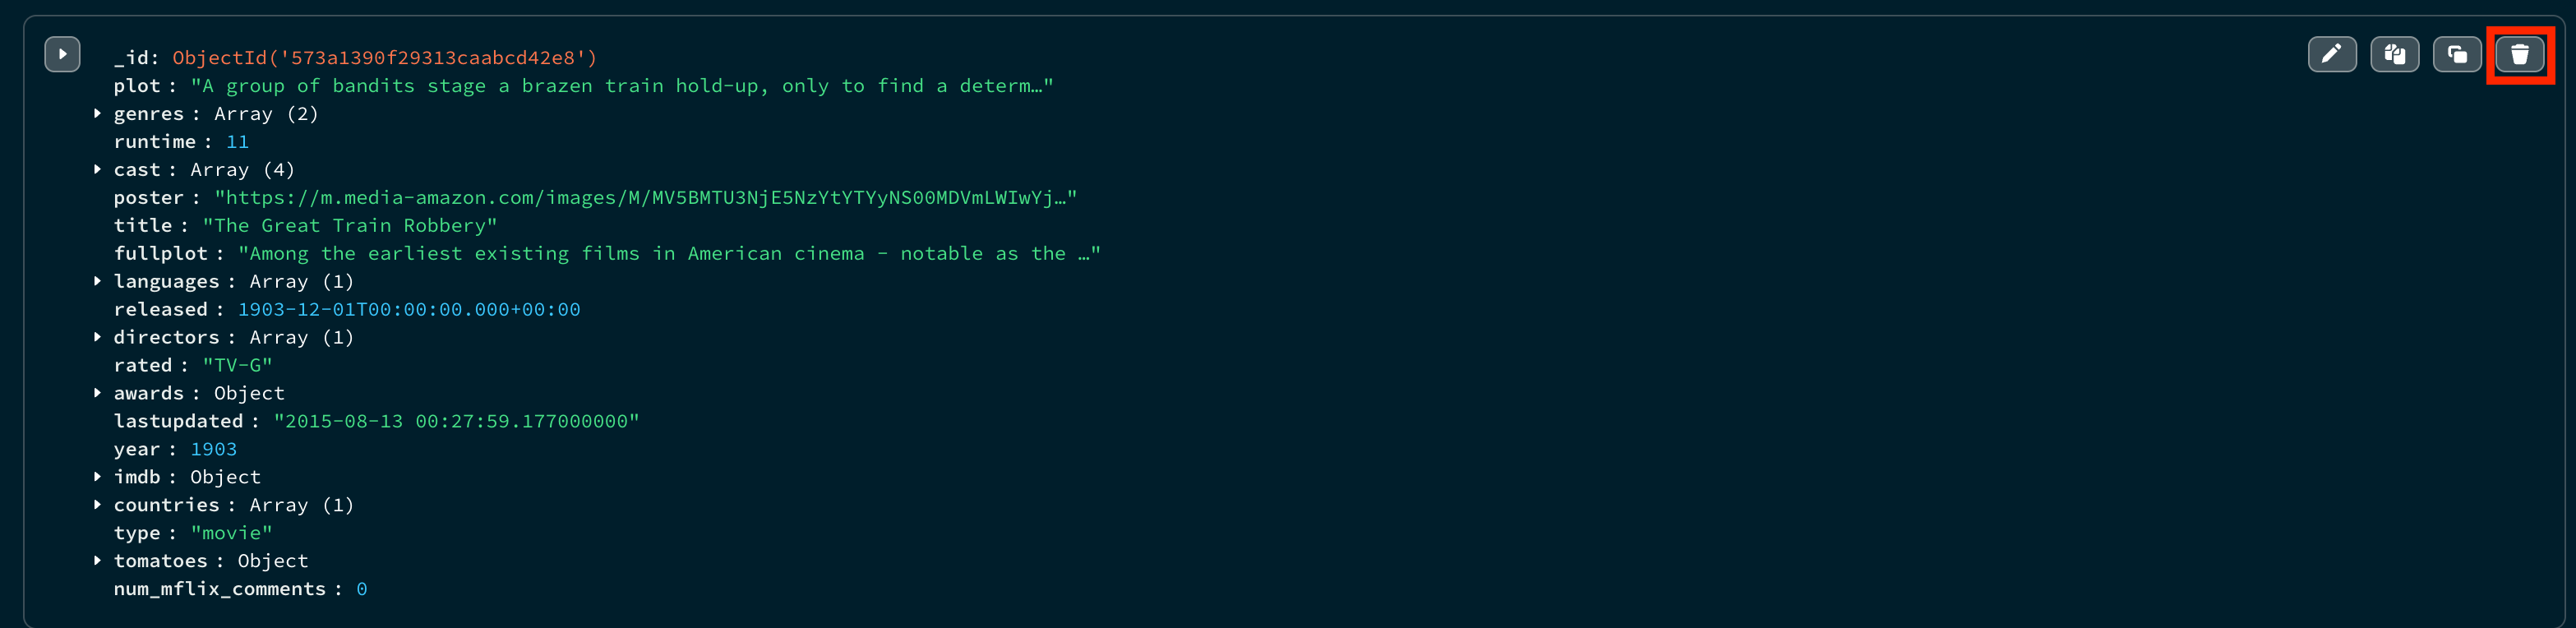
After you click the delete button, the document is flagged for deletion. Atlas asks for confirmation that you want to remove the document.
To delete a document, hover over the document and click the icon.
After you click the delete button, the document is flagged for deletion. Atlas asks for confirmation that you want to remove the document.
To delete a document, hover over the document and click the icon.

After you click the delete button, the document is flagged for deletion. Atlas asks for confirmation that you want to remove the document.
Once you confirm, Atlas deletes the document from the collection.